WOW 5 and Firmware
本栏目整理其他汽车汽车技术资源,覆盖诊断软件、ECU数据、维修手册、电路图、编程刷写、故障码解决、改装资料和实际维修案例,便于汽车维修与技术学习使用。
Delphi 2017 Rev3 vFiNaL CAR, TRUCK, Generic + ACTIVATION FREE
Delphi 2017 Rev3 vFiNaL CAR, TRUCK, Generic + ACTIVATION FREE
Delphi 2017 Rev3 vFiNaL CAR, TRUCK, Generic + ACTIVATION FREE
Introduction
~~~~~~~~~~~~
ACTIAPnPInstaller is a tool designed to silently install drivers
for ACTIA USB devices. ACTIAPnPInstaller is typically executed from
a CD-ROM. However, other media or networks are supported.
ACTIAPnPInstaller supports following operating systems:
– Windows 2000
– Windows XP
– Windows XP 64
– Windows Server 2003
– Windows Vista 32
– Windows Vista 64
– Windows 7 32
– Windows 7 64
ACTIAPnPInstaller command line syntax
~~~~~~~~~~~~~~~~~~~~~~~~~~~~~~~~~~~~~
Syntax:
ACTIAPnPInstaller.exe [/?] [/nodisplay] [/nolog] [<DRIVER_PACKAGE_PATH>]
How to use
~~~~~~~~~~
User account must have administrator rights to allow driver install.
For driver FIRST INSTALL, following steps have to be respected:
– Launch ACTIAPnPInstaller.exe (from CD or other location), before
plug in your ACTIA USB devices.
– Wait for final dialog box (if you did not set the “nodisplay” switch).
– You can now plug in your ACTIA USB devices.
For driver UPDATE, following steps have to be respected:
– Plug all ACTIA USB devices for driver UPDATE.
– Launch ACTIAPnPInstaller.exe (from CD or other location).
– Wait for final dialog box (if you did not set the “nodisplay” switch).
Log file
~~~~~~~~
If the switch nolog is not specified in the command line then a
log file called “ACTIAPnPLog.txt” is created in the %TEMP% directory
of the current user.
Totally silent install
~~~~~~~~~~~~~~~~~~~~~~
If the switch “nodisplay” is specified in the command line then final
dialog box will not be displayed, allowing user or an application to
silently install the driver.
However, under Windows Vista operating systems, a dialog box appears during
the execution of ACTIAPnPInstaller.exe to ask user, if he trusts the publisher.
You have to say “Yes”, to install properly the driver.
What’s new
~~~~~~~~~~
3.0 Added – Windows Vista 64 support.
– Use of the Microsoft framework DIFx.
2.5 Added – Multiple drivers support (included VComUSB2 driver).
2.4 Added – Windows Vista support.
2.3 Added – PPi Evolution support.
Removed – Windows 98, 98SE and Millenium support due to Numega issues.
2.2 Added – Windows Server 2003 support.
– Installer for VCommUSB Driver V3.4.
2.1 Added – VCI PassThru+XS I+ME support.
– Installer for VCommUSB Driver V3.3.
2.0 Update – New Behaviour for XP: Avoid hubs problems.
– Quicker install.
– But needs user action at first use.
1.3 Correction – Use of installer from a directory with white spaces.
1.2 Added – Windows 98, 98SE and Millenium support.
1.1 Update – Installer for VCommUSB Driver V3.2.
FAQ
~~~
1) Why does it take such a long time for XP to show the driver installation
dialog box first time the USB device is inserted ?
. XP is looking for driver updates from “Windows Update” web server.
. To deactivate it, go to “Control Panel\System\Automatic updates” and
. Uncheck “Keep my computer up to date”.
2) What to do if USB device was inserted before launching installer ?
. If a dialog box appeared when USB device was inserted,
. select “Cancel” then execute “ACTIAPnPInstaller”.
. Dialog box will appear again. Now choose “Recommended option”.
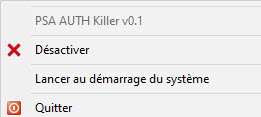
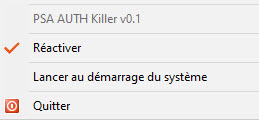
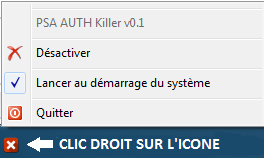
Solution For PSA Authentication Under Diagbox
Solution For PSA Authentication Under Diagbox
Solution For PSA Authentication Under Diagbox
PCM + Galetto + Combiloader
PCM + Galetto + Combiloader
PCM + Galetto + Combiloader
系统要求:
Windows:windows7 / 8/10
Android:高于Android
网络:3G以上
首次使用BAOCHI Cloud诊断软件时,需要在成功注册软件后使用电子邮件注册一个帐户并在BAOCHI软件中绑定SVCI IND硬件设备。
注意:一封电子邮件只能在软件中绑定一台设备。如果有多个设备需要从软件中取消旧设备的绑定,然后重新绑定新设备。
BAOCHI软件在Windows系统上注册,绑定和解除绑定:
1.注册BAOCHI软件帐号:
步骤1:在Windows系统上安装BAOCHI云诊断软件
步骤2:通过USB端口将蓝牙加密狗插入计算机
步骤3:为SVCI ING接口供电
方法1:将SVCI ING插入车辆的OBD端口并启动车辆
方法2:通过USB端口将SVCI ING插入计算机或电源
步骤4:运行BAOCHI软件并注册一个帐户
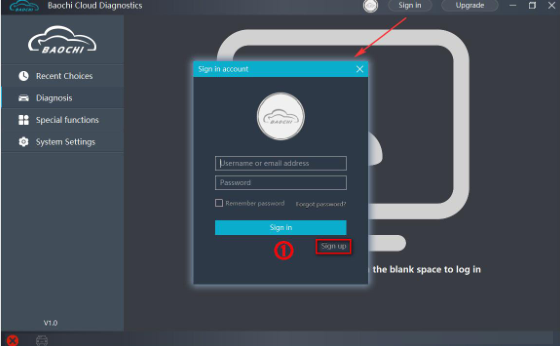
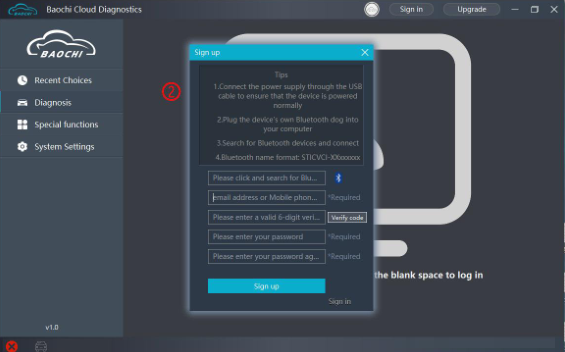
3.2.在Windows平台上的BAOCHI软件中绑定SVCI ING:
首次成功注册和登录后,BAOCHI云诊断系统将提示你绑定设备。
1).按照提示选择要绑定的设备
2).根据设备的蓝牙ID(设备序列号)绑定设备
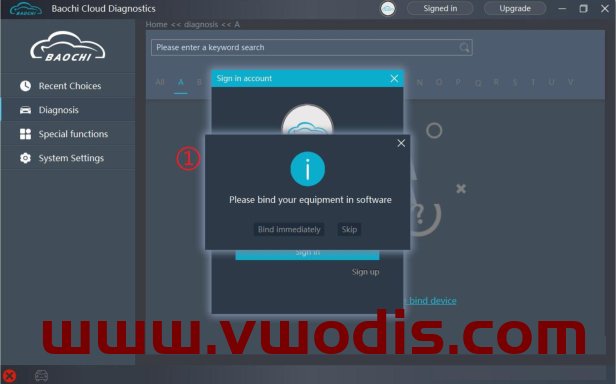
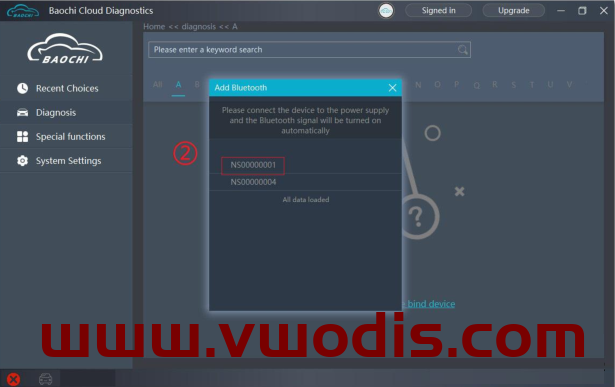
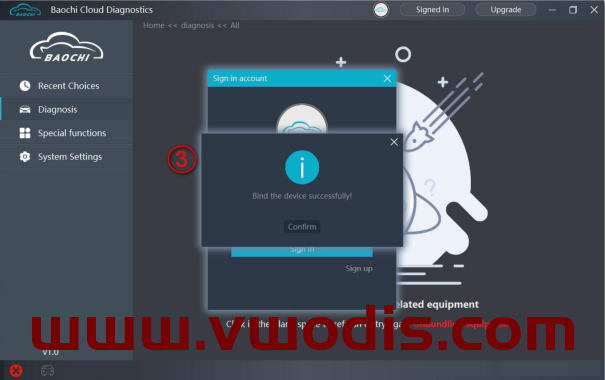
3.在Windows平台上从BAOCHI软件取消绑定SVCI ING:
登录BAOCHI云诊断软件
在左侧菜单栏中选择“系统设置”
然后选择“取消绑定设备”,然后单击“确认取消绑定”
SVCI ING BAOCHI软件在Android平台上注册,绑定和取消绑定:
1.注册SVCI ING BAOCHI软件
步骤1:在Android平台上安装BAOCHI云诊断软件
注意:
-如果你已经在Windows平台上注册了帐户,则可以直接输入该帐户进行登录并使用。
-如果尚未注册帐户,则需要先注册一个帐户,然后再使用。
步骤2:为SVCI ING供电
方法1:将SVCI ING插入车辆的OBD端口,然后启动车辆
方法2:通过USB端口将SVCI ING插入计算机或电源
步骤3:打开手机的蓝牙功能,并首次在BAOCHI android软件中注册你的帐户。
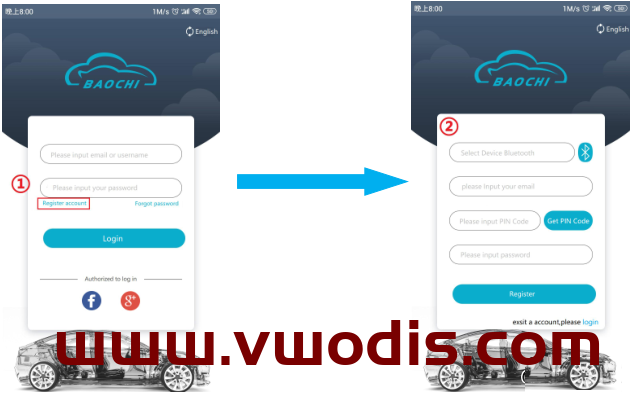
2.在Android平台上的BAOCHI软件中绑定SVCI ING:
注册完成后,设备将自动绑定。
3.在Android平台上的BAOCHI软件中取消绑定SVCI ING:
登录BAOCHI可以在手机终端中诊断软件
在菜单栏中选择”menu” –>选择”System Settings”
单击“绑定设备”项以解除绑定设备
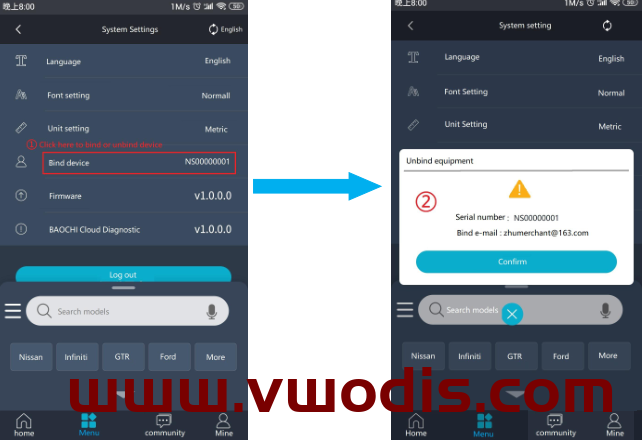
1 .V6.7.5 Xhorse VVDI2软件更新信息:
2020 年5月28 日更新
需要固件V6.7.5
VAG V6.7.5
1.对自动检测VAG防盗系统的改进
2.更新、改进FRF和SGO文件
3.Bugfix
BMW V6.7.5
1.改进CAS3密钥学习
2.Bugfix
Transponder Programmer V6.7.5
1.改进远程遥控
2.防盗器数据工具:Asia->Hyundai->Santa Fe->2008-MPC5XX bugfix
3.改进clone ID70 / ID83
Copy 48 (96 bits) V6.7.5
1.Bugfix
J2534 V6.7.5
1.Bugfix
Online Update Tool V6.7.5
1.Bugfix
Quick Start V6.7.5
1.Bugfix
3.VVDI2软件V6.7.5安装和更新指南:
单击下载的软件,然后单击下一步…下一步…安装就行(哈哈哈感觉上当了)。
将VVDI2从旧版本更新为最新软件V6.7.5:
步骤1: 通过USB电缆将VVDI2密钥编程器连接到计算机
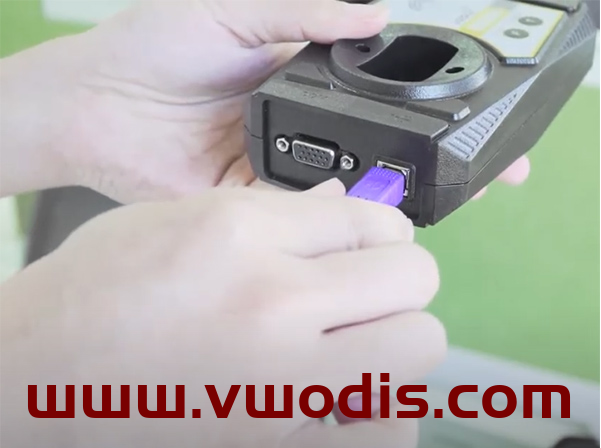
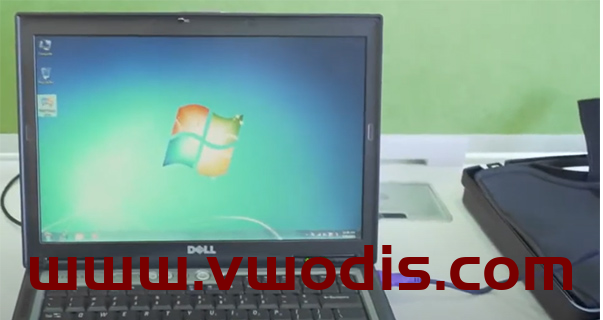
步骤2: 打开 [VVDI2 Quick Start]
步骤3: 点击 [Update Online]
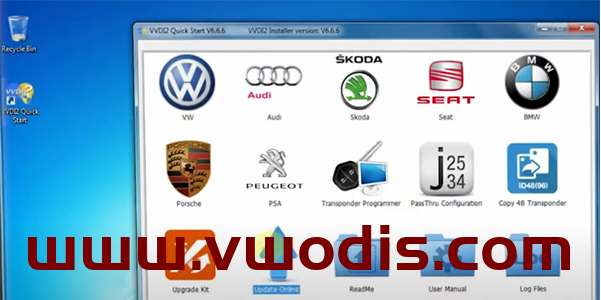
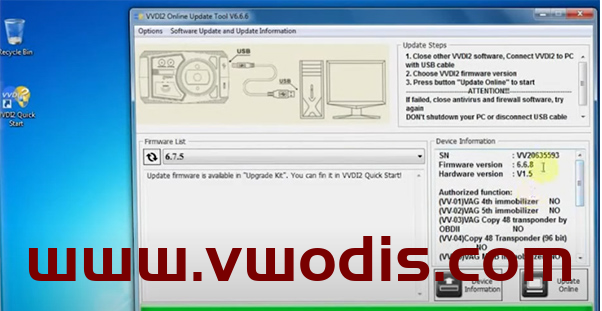
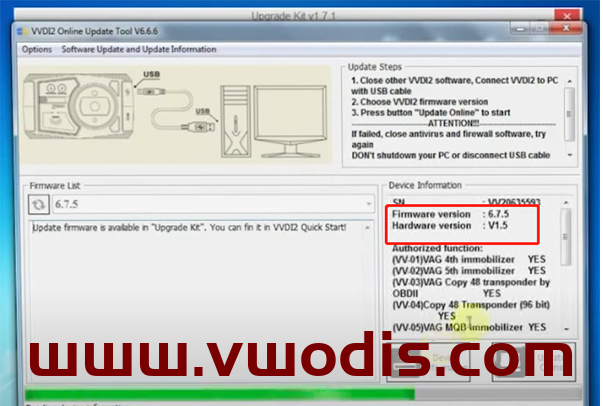
点击 [Device Information]
检测当前设备的固件,硬件版本和授权功能
步骤4:在主菜单中打开[Upgrade Kit]选项
点击 [Find Device]
读出当前版本
接下来点击 [Upgrade]
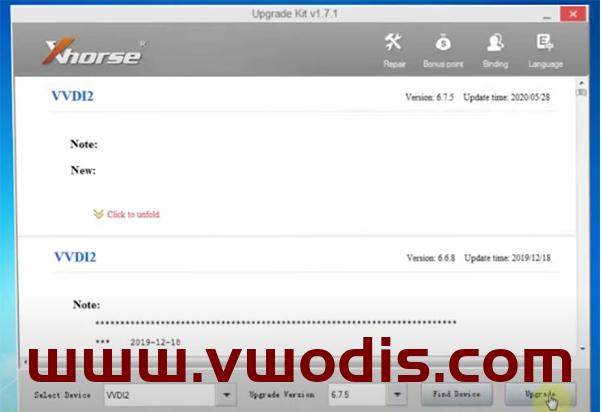
这里要稍等,反正更新速度非常快
更新完成后,单击[OK]
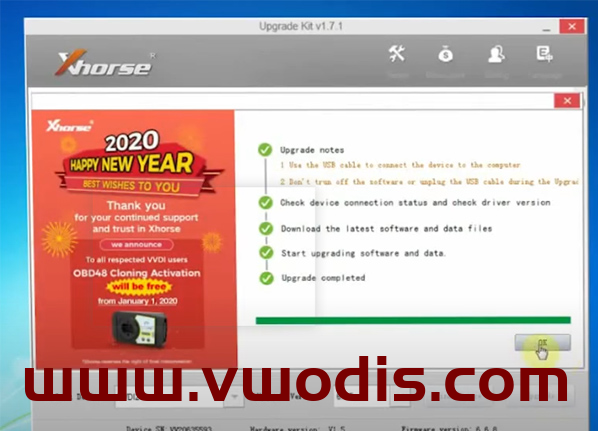
步骤5:切换到[Update Online]界面
再次点击[Device Information]
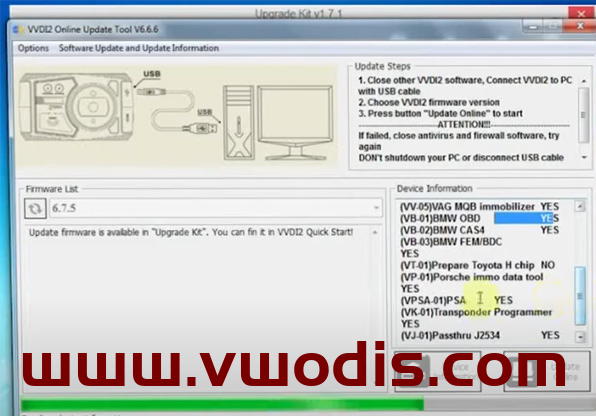
VVDI2已经成功升级到V6.7.5版本
(VV-01) VAG 4th immobilizer
(VV-02) VAG 5th immobilizer
(VV-03) VAG Copy 48 transponder by OBDII
(VV-04) Copy 48 transponder (96 bit)
(VV-05) VAG MQB immobilizer
(VB-01) BMW OBD
(VB-02) BMW CAS4
(VB-03) BMW FEM/BDC
(VP-01) Porsche immo data tool
软件包含:
SSM3 V2020.7(支持车从2005年到2018年)
SSM4 V22.60(支持车辆从2016年开始);
FlashWrite2
支持的语言:
2020.7 Subaru SSM3:英语,德语,西班牙语,法语,意大利语
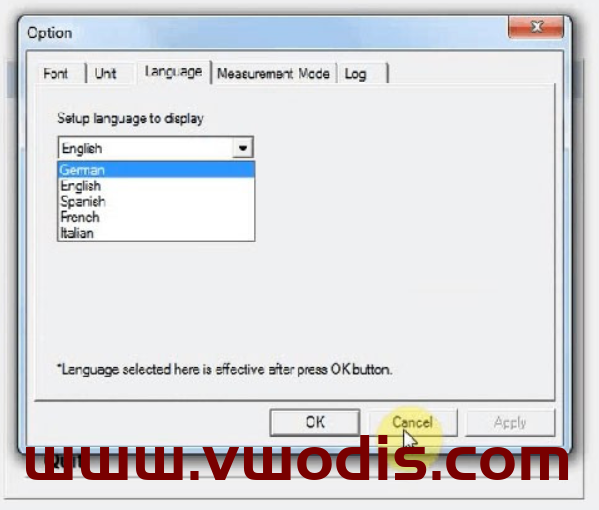
SSM4 V22.60:英语,日语,法语,德语,西班牙语,意大利语,俄语,中文,波兰语
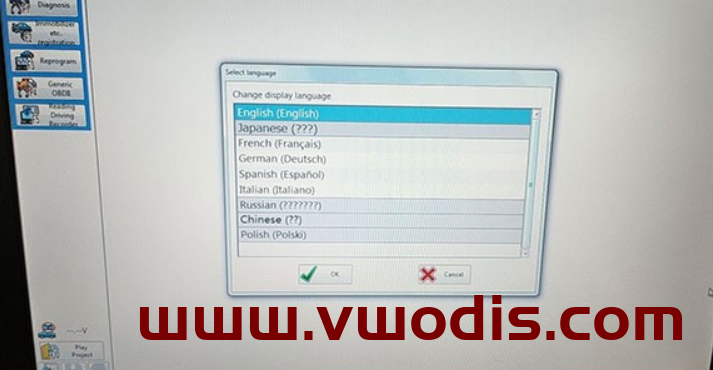
操作系统:Windows 7,Windows 8 and Windows 10
主要安装步骤:
步骤1:安装FlashWrite设置
下载并提取Subaru 2020.07软件文件夹到桌面
在FlashWrite2文件夹中打开FlashWrite2 EU V1.3.4设置
安装FlashWrite2安装程序
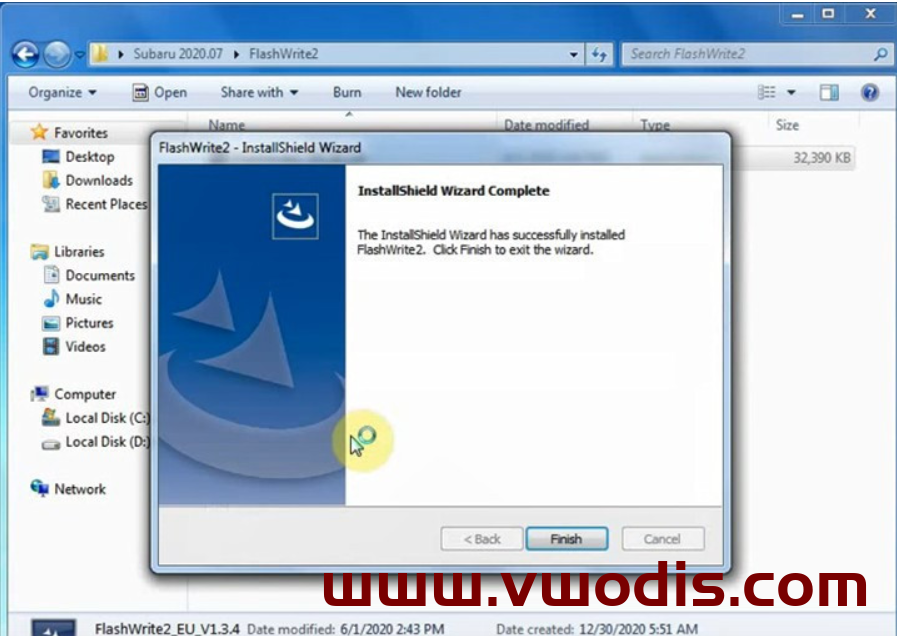
步骤2:安装Subaru SSM3安装程序
打开SSM3 folder->Setup->Accept license agreement(接受许可协议)
单击左侧图标开始设置并安装诊断软件
选择“Install this driver software anyway”继续
成功安装PC应用程序
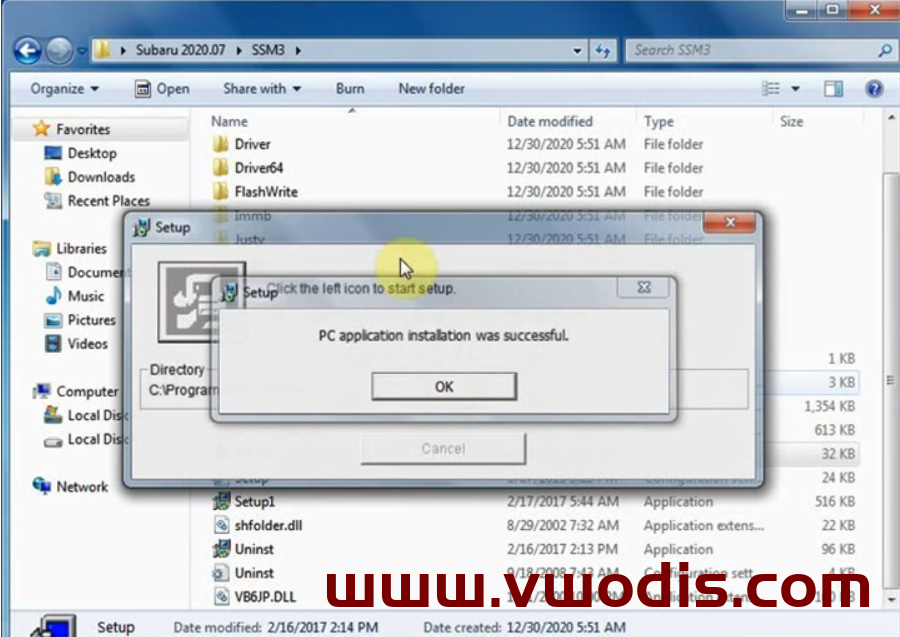
步骤3:安装SSM4安装程序
打开SSM4文件夹以安装SSM4_EU_V22.6.0安装程序
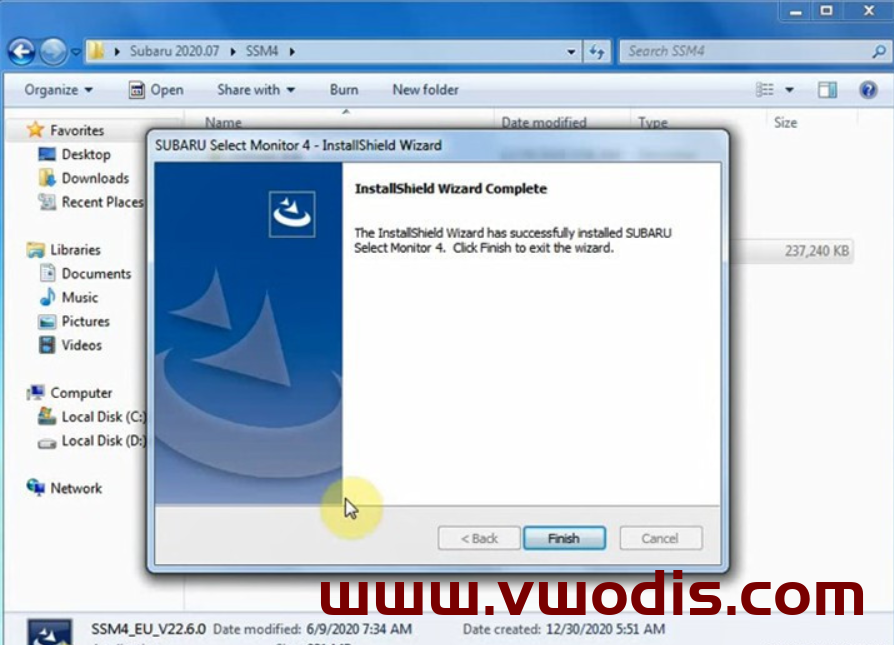
步骤4:安装VX Manager
打开VX Manager 1.8.1.1012以安装VX Manager驱动程序
选择要安装的Subaru-SSM软件,单击“下一步”,直到完成该过程。
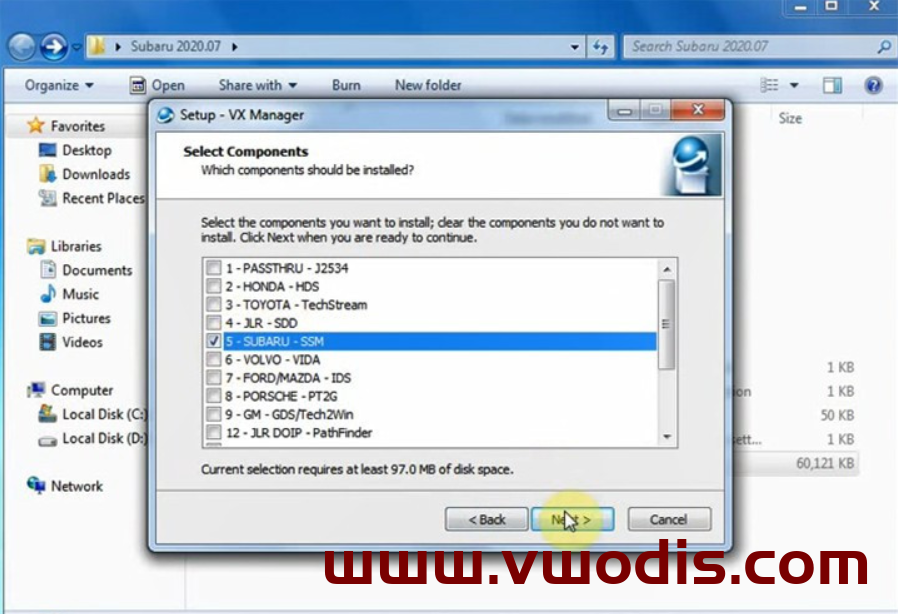
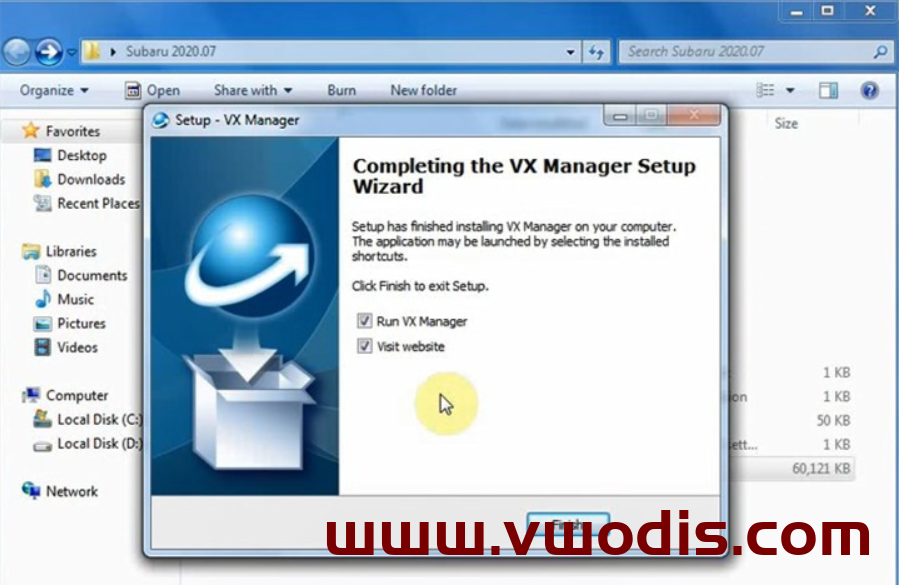
步骤5:运行补丁
将VXDIAG SUBARU与计算机连接
安装设备驱动程序软件
打开PATCH文件夹,将Subaru补丁复制并粘贴到桌面
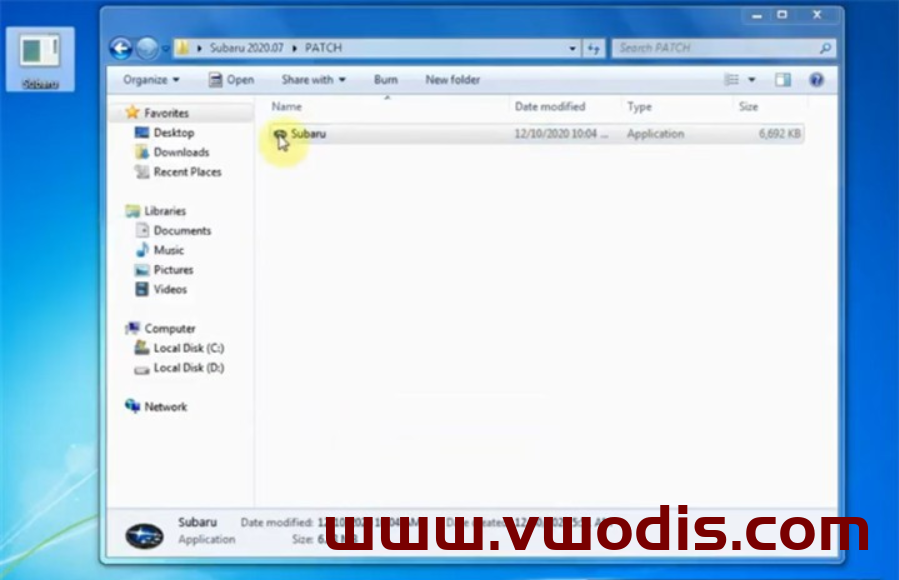
以管理员身份在桌面上运行Subaru补丁
它将显示当前许可证的到期日期。只需向vxdiag工程师提供序列号即可续订您的许可证。
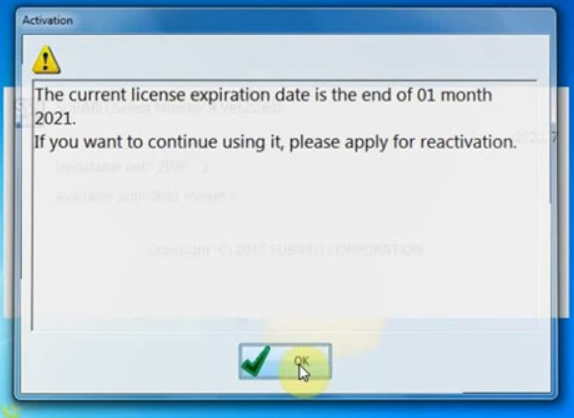
选择地区
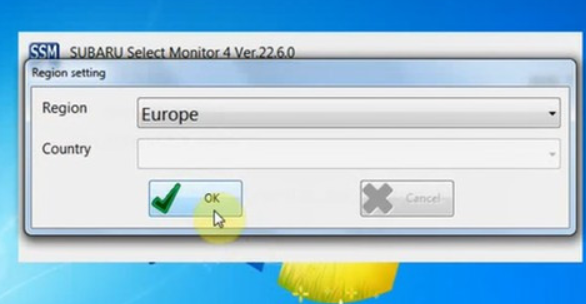
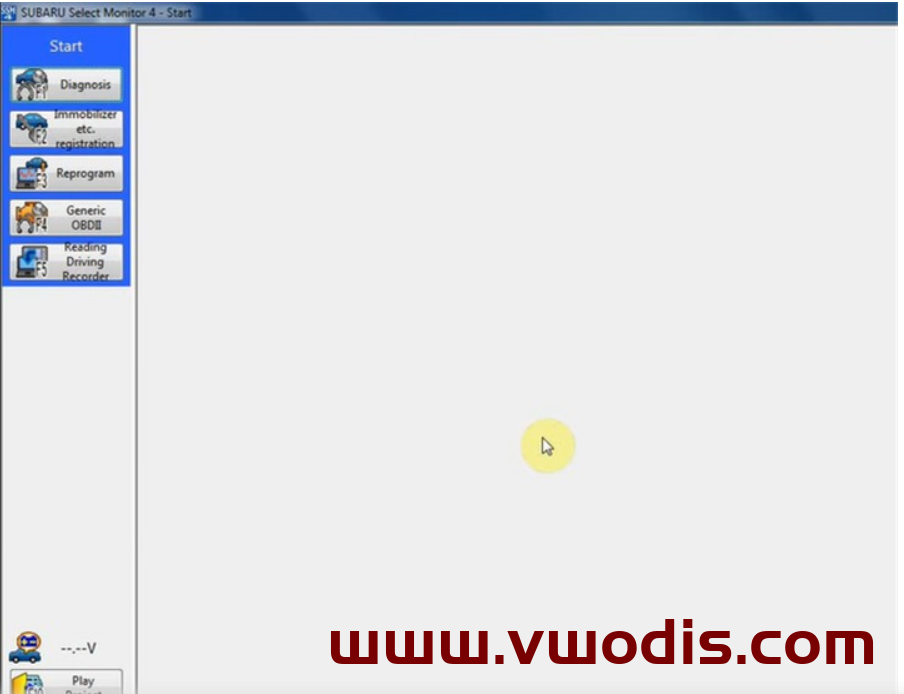
现在可以使用软件了,您可以执行任何功能,例如诊断,防盗锁,注册,重新编程,通用OBDII以及读取,驱动,记录器。
DAS PKW SMART Transporter Offline Programming
DAS PKW SMART Transporter Offline Programming
DAS PKW SMART Transporter Offline Programming